 |
CCP4 Molecular Graphics Tutorials |
 |
| Presentation graphics |
Things to consider before making a picture
Once you have set up the picture on the screen things you might want to check:
- The appearance of ribbons, cylinders etc. can be changed in the Preferences window (accessed from the Edit menu); click on the Model display folder and choose Model drawing style. If necessary you can set these drawing style parameters for individual graphical objects - from the model display object icon menu select Custom drawing style...
- Note that graphical primitives such as ribbons and spheres can be drawn at variable speed/quality (in Preferences, Display folder, Render quality) but when outputting an image the program automatically changes these to best quality. Use the internal screenshot tool (rather than an external program) for best quality rendering.
- Is the background colour appropriate? Look at the Display menu Background colour.
- Is the fog level appropriate? The depth queue fog can be toggled on or off from the Display menu Depth queue fog or the fog level changed using the Clip and fog details option on the Display menu.
- Usually the output image will have the same pixel resolution as the display window so choose an appropriate window size and ratio. Note that images to be put into printed publications need to be saved at much higher resolution such as 1000x1000 pixels which implies a bigger image. To get high resolution images it is recommended to save at twice the screen size (see later notes).
- When outputting an image file the program automatically saves the program status to a file with the image file name and the extension .pkl. If the image needs changing later the status file can be loaded via the Restore.. option on the File pull-down menu. A good reason for annotating images within CCP4mg rather than adding labels afterwards is that the annotation is saved and will not need redoing if the image is revised.
- In the Preferences folder for Images and movies look at the Screenshots options. When creating an image file the program can take the picture directly from the screen or it can redraw the scene in an offscreen buffer and output the image from there. A possible disadvantage of taking the picture directly from the screen is that if any part of the display window is covered then what should appear there is lost from the output image. It is better therefore to use the back buffer but this may not work on all hardware. Another improovement is to smoothe the edges of ribbons and spheres etc. by anti-aliasing. This process takes a few seconds but produces a much neater result. Unfortunately this also may not work on all hardware. Ideally in the Screenshots options you should set the offscreen buffer and anti-aliasing on.
Render
Set up any picture - if you have nothing already try loading rnase.pdb and choosing one of the ribbons styles from the Picture Wizard at the top of the file browser window.
A rendered image can be output in a variety of formats; from the File menu select Render click the Render button. After a short delay you will be required to enter a file name. A window should appear displaying the new image.
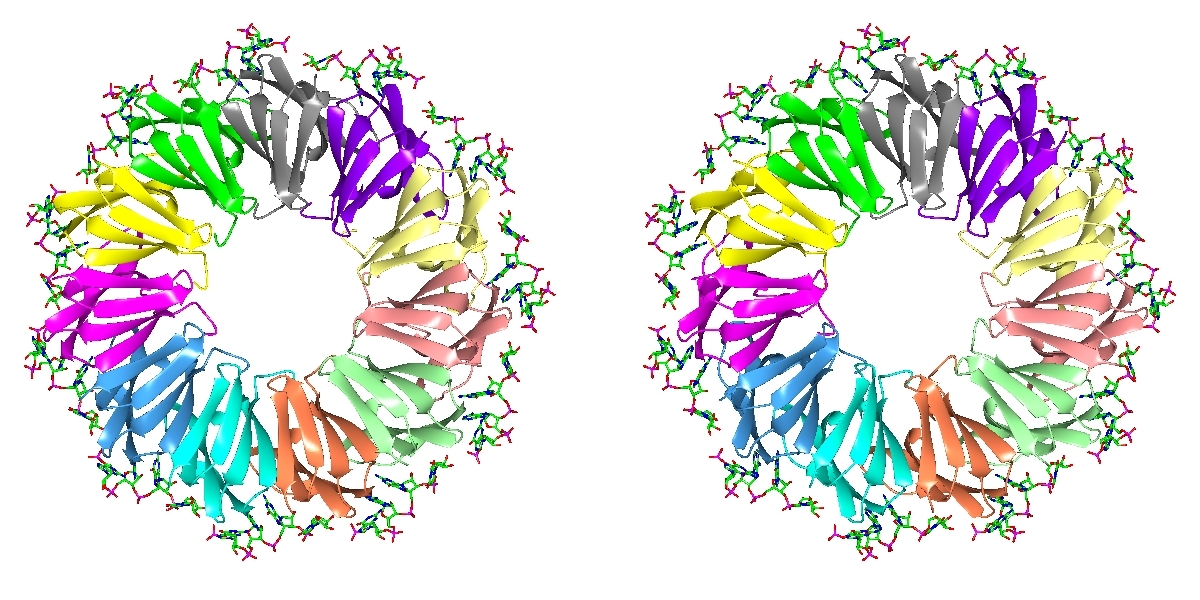
Now try the options for ray tracing and stereo images. Note that for raytracing to be effective you will need to have a light source somewhere in front of the molecule so that shadows from elements of structure at the front of the model appear on elements of structure further back. There is a button to open the lighting gui which allows moving and changing the light sources.


